Lego comic panel recreation – Heavenly forest
This behind the scenes post is on the recreation of the heavenly forest. Actually, this forest is not as heavenly as Darryl hoped for. At this point in the comic, Amida is not in for a friendly talk with our friend.
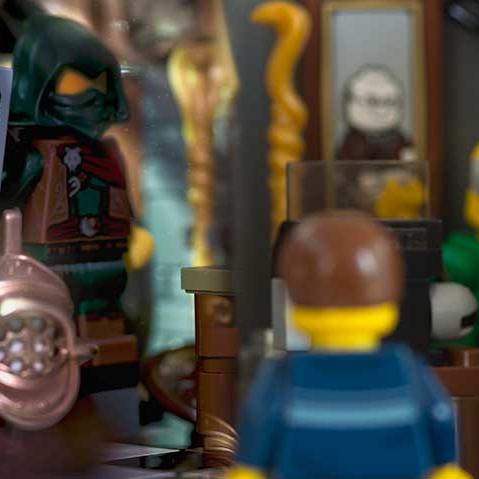
Heavenly forest – the original panel
Figure 1 below shows the original panel from episode eleven of the first Foolish Lego Comic.
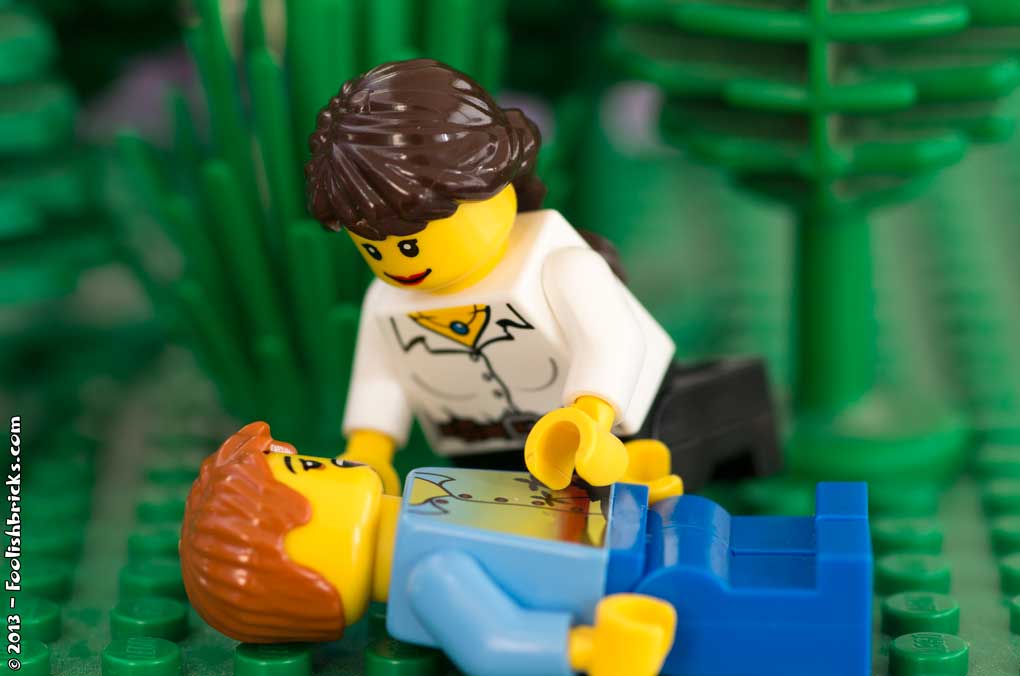
The original image – positives
There isn’t too much going on in the image. However, the one thing that is going on, i always liked. I felt the posing of Amida as well as Darryl’s face was spot-on.
The original image – Room for improvement
Again the photo suffers from the lack of proper lighting, i remember shooting this image on a table in front of glass garden doors. I also remember this set was really small, just one green plate large. When I didn’t have much to work with, i used a close-up so I didn’t have to worry about the background. Yet, it did not work, if you look very closely, you can even see the corner of he table in left upper edge of the image.
The set in itself is pretty disappointing too… a baseplate and three trees. Pretty remakable the panel worked in the comic, now that I think of it.
In the next panel, Amida hits Darryl over the head with a stick, however, there is no stick in sight in this panel. Also, there is dust all over.
For the recreation I decided to keep what I liked, the posing of the characters (with a small adjustment), and Darryl’s expression.
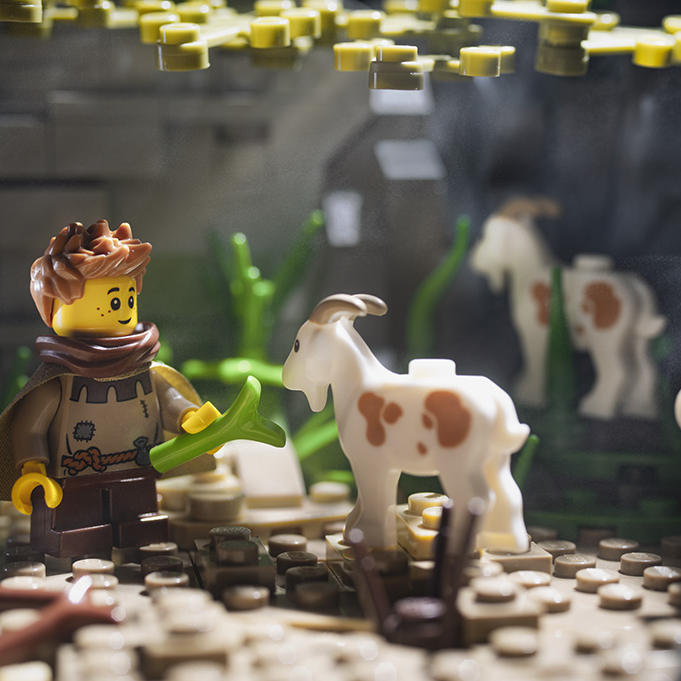
Heavenly forest – the recreation
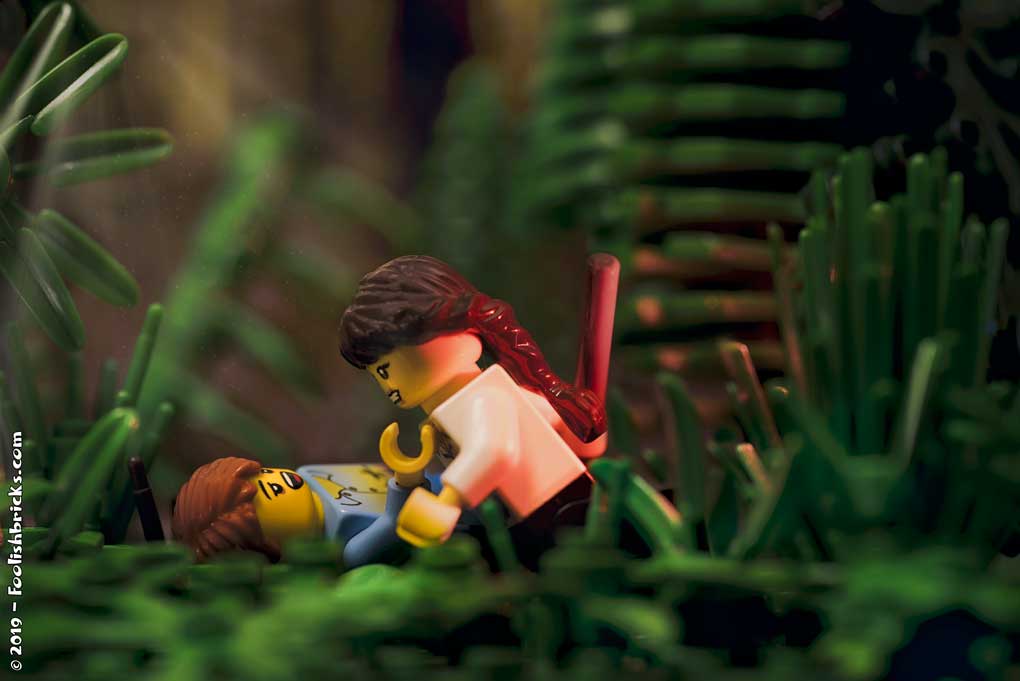
Figure 2 below shows the remake of this panel.
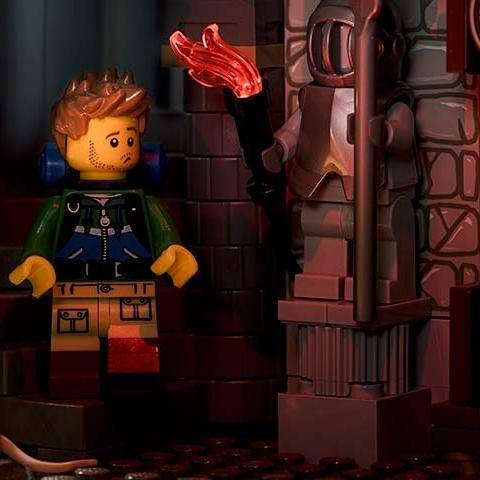
The stage
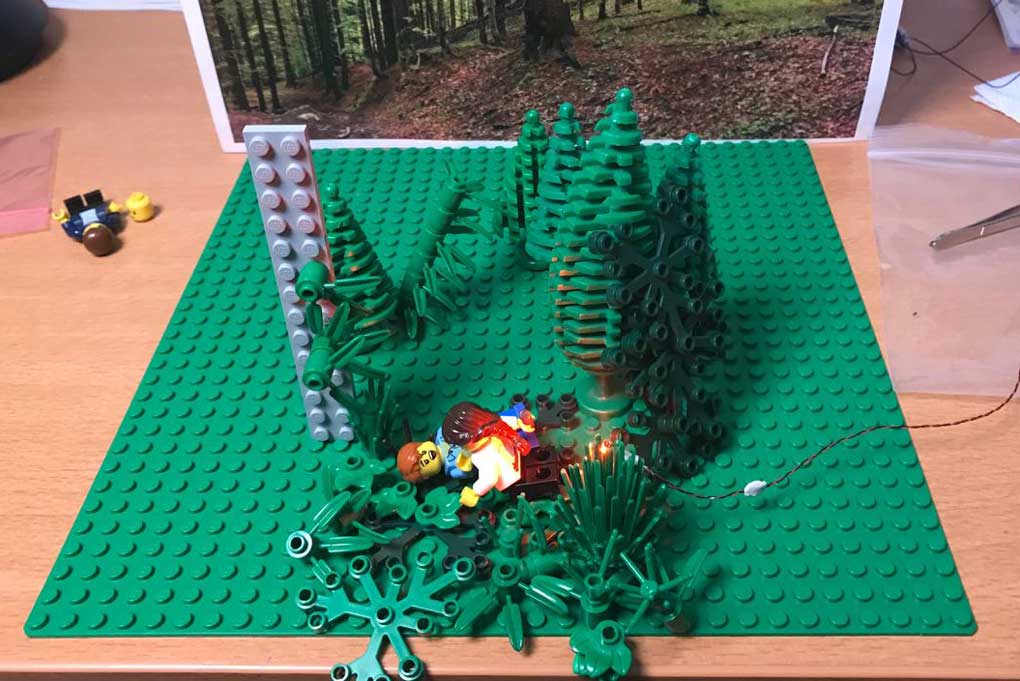
I still used a small set. But filled it with all kinds of different plants and trees. I wanted the feel of a large, dark forest and the original image was far from that. By by changing the angle and using a printed background I feel I was able to create the illusion of a large forest even with using a relatively small stage. Figure 3 shows the behind the scenes.
I also gave Amida a stick (behind her back)… this time she is ready to hit darryl over the head ;).
Composition
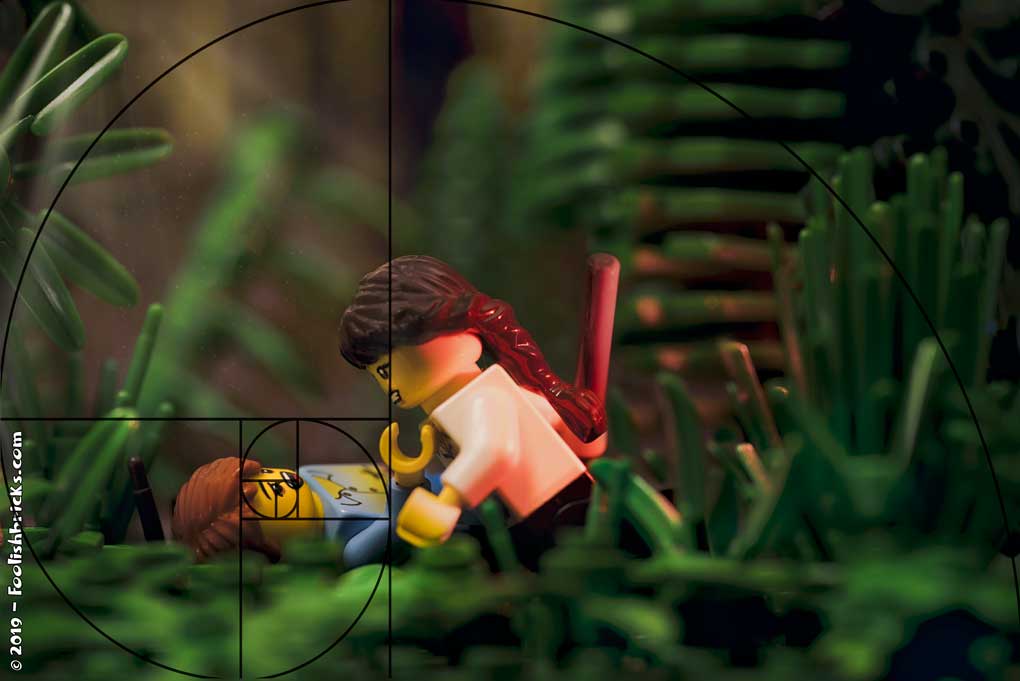
In stead of a close-up, I went for a Full-shot, showing a little more of the surroundings. This way, Darryl and Amida go up in their surroundings. I used a lower angle and focused on Darryl’s bedazzled face. As compositional help, I used the Fibonacci spiral, making sure there is also enough negative space in the image.
Color and mood
Dark, gloomy and green are the main colors. I also added a red glow on the back of Amida and the stick, conveying the danger Darryl’s in.
Before and after
Below are the before and after images joined in one image. You can use the slider to show the one or the other.
In conclusion
You don’t need a gigantic set, to create the illusion of grand surroundings like a forest. Play with the angles, background and lighting and I’m sure it’ll work out.
Happy creating!
OTHER POSTS THAT MIGHT INTEREST YOU;
You can subscribe to the newsletter to receive occasional updates from Foolish Bricks.
Awesome behind the scenes. Everything works here perfectly. Nice tones and light…..You create”real forest feeling”
Thank you Margus. I’m really happy you like it.