ISO settings in Lego photography | A beginners guide
Original: July 12, 2018
latest: February 18, 2022
After writing on several aspects of exposure the past few weeks, we will end this course with a post on ISO. As mentioned before, ISO is not a part of exposure because it influences the brightness of your photo AFTER the light is recorded by the camera sensor as opposed to exposure settings, which influence the amount of light BEFORE it reaches your camera sensor. Yet, it is good to know about ISO, because it gives you more freedom to adjust other settings (like aperture and shutter speed) given a certain amount of time.
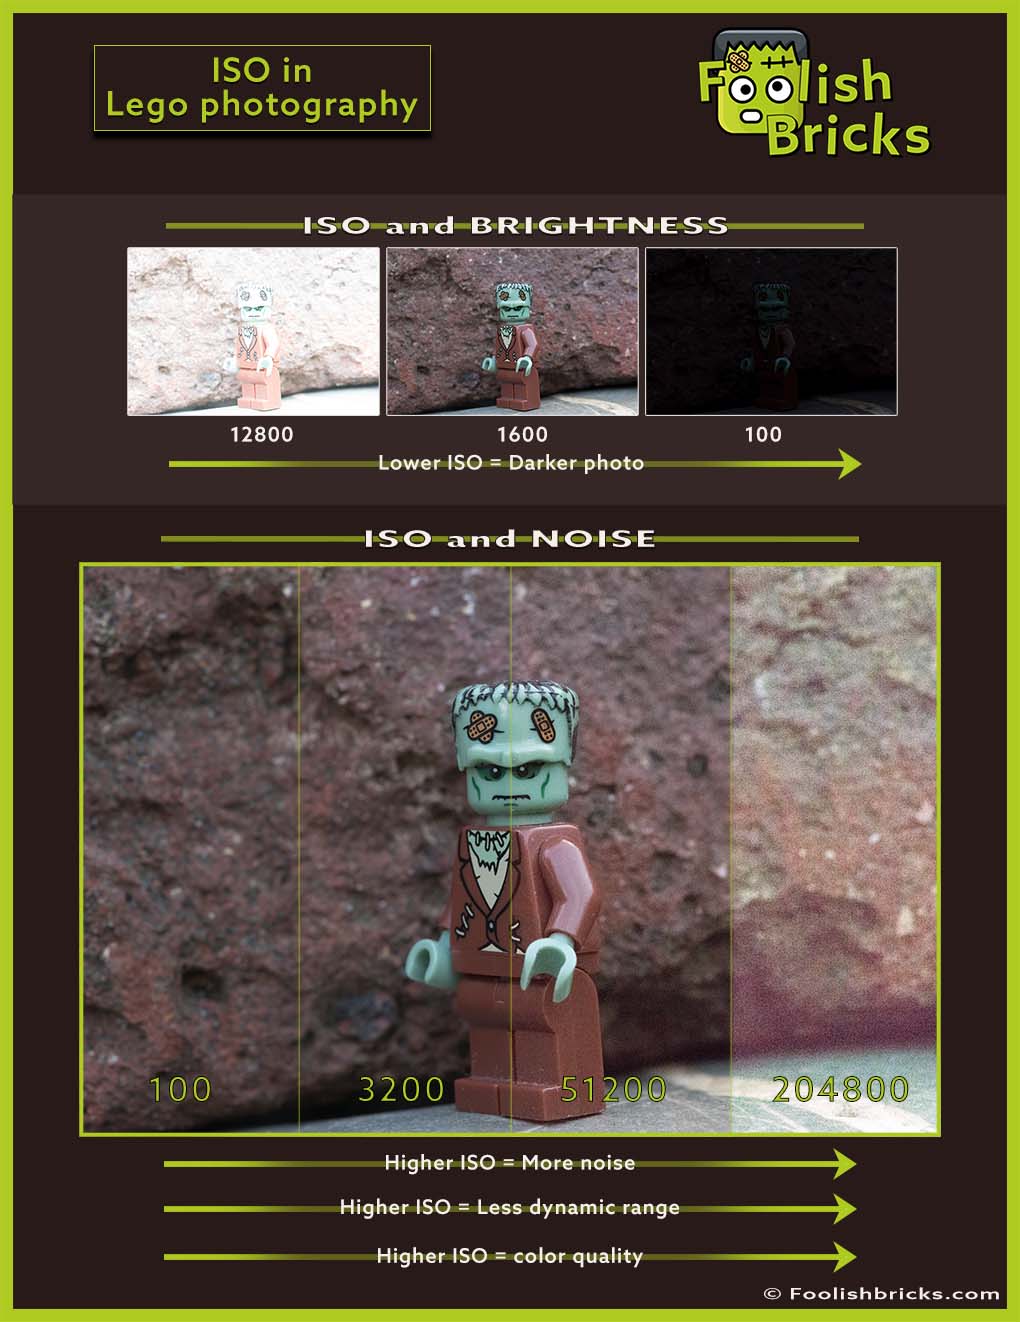
The infograph below serves as a summary on ISO in Lego photography.
WHAT DOES ISO MEAN?
In analog photography, ISO (/ ASA) was the mark of how sensitive a film was to light. This light sensitivity was indicated by a number; the lower the number, the lower the sensitivity of the film. The main governing body that, amongst other things, standardizes sensitivity ratings for camera sensors is the International Organization for Standardization. Many photographers think ISO is an acronym of this organisation’s name. However, because the name would have different acronyms in different languages (IOS in English, OIN in French for Organisation Internationale de normalisation), they decided name the sensitivity ‘ISO’. And ISO is derived from the Greek isos, meaning equal.
IS ISO ABOUT SENSOR SENSITIVITY TO LIGHT?
Well, actually; no. As stated before, ISO stated the sensitivity of film to light in analog photography. At higher ISO-numbers, the resulting photos will be darker at a given exposure value (EV). Conversely, at lower ISO-numbers, the resulting photos will be brighter at a given EV.
In digital photography, the brightness of your photos will still change when changing the ISO-setting on your camera. However, the light sensitivity of a camera does not change when adjusting ISO-settings. ISO is simply a post sensor gain applied to the signal from the camera sensor.
WHAT DO THE ISO-NUMBERS MEAN?
Digital cameras (DSLRs) typically have ISO-settings that range between 100 (low sensitivity) to 204,800 or even higher (high sensitivity). Compact cameras and camera phones will have lower maximum ISO-settings than DSLRs.
EFFECTS OF CHANGING ISO
Changing ISO-setting influences the brightness of your images and it changes the signal-to-noise ratio. It also has some effect on color and dynamic range (the ability of the camera to capture detail in both highlights and shadows)
Effects of changing ISO: brightness
The effects are:
- The lower the ISO-setting, the less gain applied to the signal from the camera-sensor and the darker the resulting photo will be at a given EV.
- The higher the ISO-setting, the more gain applied to the signal from the camera-sensor and the brighter the resulting photo will be at a given EV.
The gain applied to the signal will double between each ISO-setting. This means that doubling the ISO-setting will double the brightness of your photo and increase the EV by one stop. Conversely, halving ISO-settings will halve the gain applied to the signal, decreasing the EV by one stop.
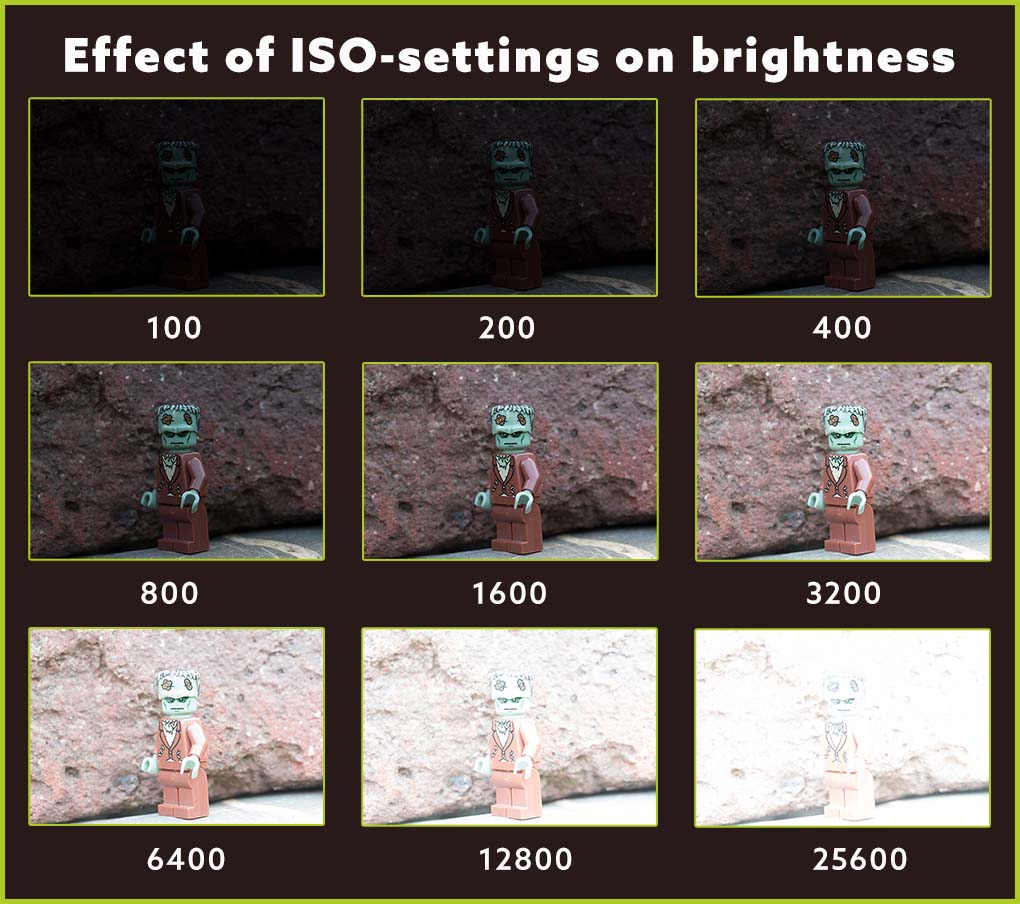
These stops are, again, the same as the ones when adjusting aperture or shutter speed. This means that when you increase or decrease the shutter-speed and or aperture by several stops, you can adjust the ISO in the opposite direction by the same amount of stops. The brightness of your image should remain the same, however motion blur might, depth-of-field (DOF) will and the amount of noise might change between settings. Remember the exposure triangle. Figure 1 gives examples of how the brightness changes resulting from changing the ISO-settings.
Last, brightness can also be changed in post-processing. Yet, the quality of the photo will usually be better if the in-camera ISO is set correctly as opposed to adjusting the brightness in post-processing.
Effects of changing ISO: signal-to-noise ratio
Image quality will change when adjusting ISO. The higher the ISO is set, the higher the amount of noise (/ grain) in your photo will be. The lower the ISO, the lower the amount of noise in your photo.
The signal-to-noise ratio depends on the sensor in your camera. In general, the smaller the sensor; the more noise a sensor will produce.
Besides, as stated above, ISO is about the amount of gain applied to the signal that is produced by the sensor after exposure to light. And the higher the ISO, the higher the gain applied to the signal. However, the gain is applied to both the noise and the signal. So, at higher ISO-values the noise becomes visible.
SETTING YOUR ISO
Most cameras only have aperture- or shutter speed priority mode. In these modes, you usually can set a range of ISO-values from which the camera can choose. As far as I know, only Pentax camera’s have an ISO-priority mode. And of course you can use manual (M-)mode.
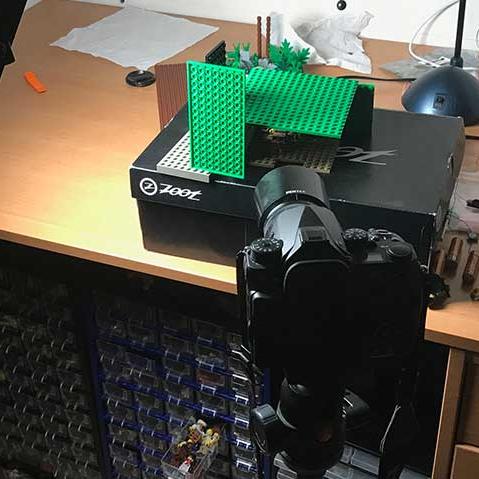
Test the ISO noise-effects of your camera
Each camera sensor differs regarding ISO. It is best practice to test your camera at differing ISO settings, deciding for yourself which amount of noise is acceptable. Be sure you judge the amount of noise on your computer (!) and not on a small telephone of camera-screen. Also remember that noise is usually higher in darker photos at a given ISO-setting.
Choosing your ISO-settings
All in all, I recommend shooting your photos at the lowest ISO-number possible. This will produce the best quality photos. Also, keep in mind that quality of color and dynamic range increases at lower ISO-settings.
However, sometimes that may not be possible. The worst circumstances being if you want a relatively small aperture whilst freezing motion (high shutter-speed) in a photo at low light shot from the hand. That photo will not be possible without increasing ISO-values.
Anyway, I almost exclusively use ISO 100 when shooting Lego. The fact that Lego scenes are usually pretty static makes it so that I can usually shoot from a tripod at low shutter speeds without needing to increase ISO. Yet, sometimes I still need to increase ISO, this is almost always because of the need for a certain shutter speed. For example, because sometimes I need a higher shutter-speed because I can’t use my tripod and need to take a picture from the hand. A higher ISO means I can use faster shutter speeds with a lower chance of camera motion due to my hands shaking.
CONCLUSION
This post concludes the course on the basics of camera-settings. Reading about exposure, aperture, shutter speed and ISO, understanding how these values relate to each other and practice will surely increase the quality of your (Lego) photography or Lego comic. Besides, it will give more freedom to photograph a scene exactly as you like.
If there are any more questions, let me know in the comments!
Happy creating!
OTHER POSTS THAT MIGHT INTEREST YOU;


You can subscribe to the newsletter to receive occasional updates from Foolish Bricks.